


Tips for Installing and Maintaining Ceramic Mosaics
Tips for Installing and Maintaining Ceramic Mosaics
Choosing a ceramic mosaic can be a long, complex, yet incredibly rewarding process. Selecting your design, receiving your package, and then the feeling of satisfaction once the design is finally in your pool or home is incredible. In the previous article, we discussed the importance of choosing the correct mosaic for you and those around you, whether it be family or friends. However, what’s even more important than the initial selection process is knowing how to properly maintain your mosaics.
Mosaic art has been around since 3000 BC when it was popularized in ancient Roman and Greek civilizations. Some mosaics have lasted the turmoil of the past few millennia and can be viewed in cities and museums around the world. Swimming pool mosaics are beautiful, elegant, and durable. They will outlast the plaster finish on your pool, so you won’t need to go through the selection process until you have to refinish your pool. Whether you’re a new pool owner, unsure of how to keep your designs looking their best, or a long-time mosaic collector, the following swimming pool mosaic maintenance tips are sure to help you out, even if they’re simply a refresher!
Tips for DIY Swimming Pool Installation Projects
For the pool owner who is handy and wants to install their mosaics themselves, here are some suggestions on how to install them. Make sure you clear this with your pool contractor before you begin. The mosaic comes completely assembled. In a few cases, because of the mosaic's size, it will come in two or more sections. The mosaic is designed so that the finish coat fills up the space between the individual ceramic pieces. On a horizontal surface, the finish coat will go in between the pieces and seep down under the mosaic thereby making a solid bond between the surface and the mosaic. The only exception is if the finish coat has stones in it such as the brand name "pebble tech". The pebbles are too large to fit in between the ceramic pieces. In this case thin set the mosaic in place and then grout it.
If the mosaic is to be placed on a vertical surface, our experience is that the finishers will not install it for you. Note: DO NOT let the mosaic get WET. The individual pieces are held onto the screen backing with a water-soluble adhesive such as Elmer's Glue. The individual pieces will fall off if they get wet!!!
Needed equipment & materials:
- Trowel, small
- Two buckets, one for mixing and one for water
- Stirring paddle that fits on a hand drill
- A bag of white, sanded thin set
- A bottle of muriatic acid
- Rubber gloves
- If you are using a finish with stones in it, you might want to consider using grout that is the same color as the background color of the finish coat instead of just plain white grout.
- Chalk
- Utility knife
- Scrub brush
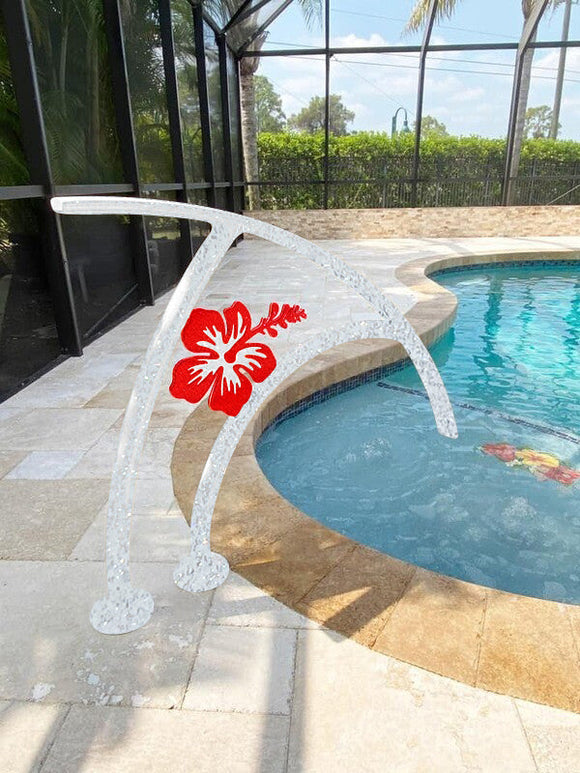
Begin by removing the mosaic from its cardboard backing. Cut as close to the ceramic pieces as possible. Place the mosaic where you want it and draw an outline with the chalk. For items installed on the walls, make sure the top of the mosaic is at least 18” below the surface of the water.
Put on the rubber gloves; dilute the acid 50/50 with water. Remember, the acid is poured into the water! Apply with a scrub brush. No need to scrub very much. Let the acid do the work. Rinse. The outline may have to be re-drawn. If so, go ahead and draw the outline now before the area dries. Let the area dry. The acid kills bacteria that may be growing in the gunite.
While the area is drying, mix the thin set. Mix the water and thin set to a consistency of pizza dough. Do not make it runny. The thin-set needs to hole the mosaic on the vertical surface even when it is wet. Also, if the thin set is too runny, it will seep into the grout lines preventing the finish coat from getting into the grout lines. Use the outline as a guide. Spread the thin set with the trowel out past the outline a little. Make the area about 3/8" thick. Now apply the mosaic. Push it into the thin set a little. Use a damp sponge (make sure you ring the water out of the sponge) to level the mosaic. Use the trowel to remove the excess thin-set from around the edge of the mosaic. I will often also use the sponge to get as much thin set away from the edge of the mosaic. You want as much finish coat to touch the edge of the mosaic as possible. Don’t worry about a white film left on the mosaic. The film will get cleaned off by the finishers. Voile`, you’re done. Step back and admire your work!
Pool Health Maintenance
- If you install your mosaic in your pool, it won’t ever need to be cleaned (swimming pool mosaics are just that durable!). However, there is one main tip to maintain overall pool health, not just your mosaics: make sure to check the pH, calcium, and chlorine levels once a week. Ensuring that these chemicals are well-balanced will prevent calcium stains, algae growth, and cloudy water from occurring in your pool. Unbalanced pH levels will especially lead to grout erosion if it’s too low, so stay vigilant!
For Non-Pool Installations and Maintenance
- If you’re installing mosaics on the floor of your home (either indoors or outside), a grout sealer is your best friend when it comes to long-lasting grout. Grout sealer makes grout more water-resistant, and therefore less susceptible to damage or discoloration. Pick some up at the local tile or building materials store of your choice - your mosaics will thank you!
- When routinely cleaning your tiles (everyone is cleaning their mosaics regularly, right?), avoid hard-bristled tools such as steel wool, since they can scratch the mosaic. Stick to other household items such as a soft towel or sponge
- Avoid acidic cleaners as much as possible since they can discolor the grout.
- The best mosaic cleaner is a simple combination: of mild detergent and water! Mosaics are extremely tough and won’t be stained or damaged by any detergent!
